
3 Bundles with Frontal
Showing all 8 results
-
Sale!3 Bundles with HD Frontal(56 Reviews)$143.25
$191.00 -
(56 Reviews)$133.43
$177.90 -
Sale!3 Bundles with HD Frontal
-
Sale!3 Bundles with HD Frontal
Showing all 8 results
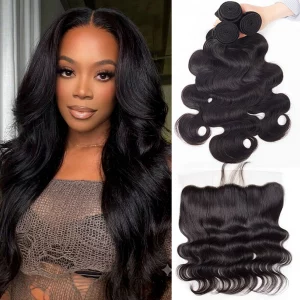
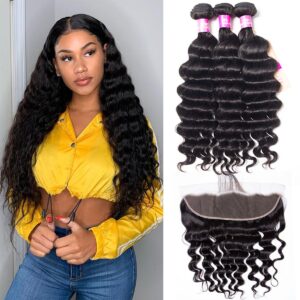
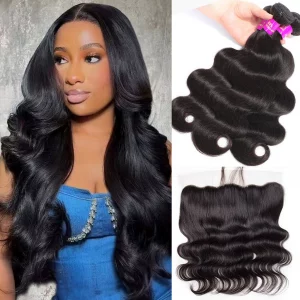
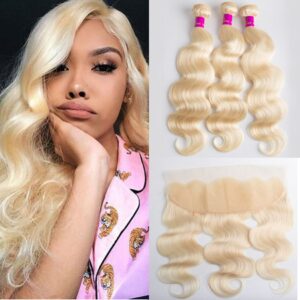
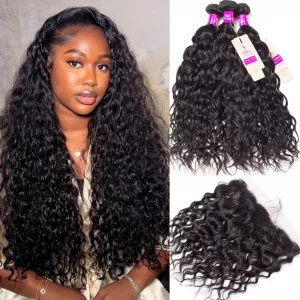
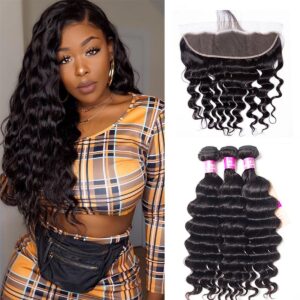
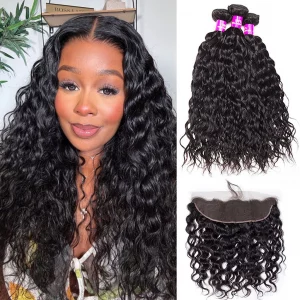
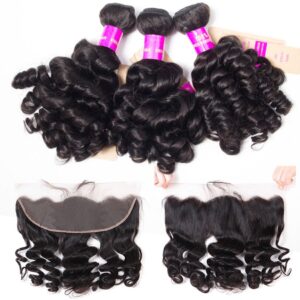
Tinashe Hair 3 Bundles with Frontal combines three human hair bundles with a lace frontal to give you a fuller look and a natural-looking hairline. The frontal extends from ear to ear, offering greater styling flexibility than a closure, including middle parts, side parts, and pulled-back hairstyles. Whether you prefer sleek straight hair, soft body waves, defined deep waves, or bouncy curls, this bundle-and-frontal set makes it easy to customize your look for everyday wear or special occasions.
FAQS
What Is The Difference Between A Frontal And A Closure?
Are 3 Bundles With A Frontal Enough For A Full Head?
How To Install 3 Bundles With Frontal?
Step 1: Prepare Your Natural Hair — Braid your hair into neat cornrows to create a flat, secure base for the bundles.
Step 2: Position the Frontal
Place the lace frontal at the front of your head, aligning it with your desired hairline. Check that it extends evenly from ear to ear and lies flat against the braided base.
Step 3: Sew in the Hair Bundles — Using a weaving needle and thread, carefully sew each weft onto your braided base. Work from the bottom upward, keeping the tracks secure without pulling too tightly on your natural hair.
Step 4: Add More Bundles for Fullness– Continue attaching the bundles row by row. Space them evenly to create a balanced, natural-looking result. The number of bundles needed depends on your desired fullness and the hair length.
Step 5: Secure the Frontal — Position the frontal over the remaining braided area and sew along its reinforced perimeter, including the sides and back. Make sure it lies flat and blends with the installed bundles. Lace adhesive is optional.
Step 6: Blend and Style — Trim any excess thread, create a natural-looking part and gently style the hairline. You can also make middle part, side part, straight style, waves, or curls depending on the hair texture.