Today is for a new video about Tinashe Brazilian body wave lace front wig. I haven’t used hair from this company but I heard many good reviews about this company. I did get some goodies, a cute mirror and a hair care card and we have our gorgeous wig, and it feels really good, the density you know this is voluminous, I got 250 density and it is the thickest body wave wig that I have ever gotten. So now we are going to get into the installation for this wig.
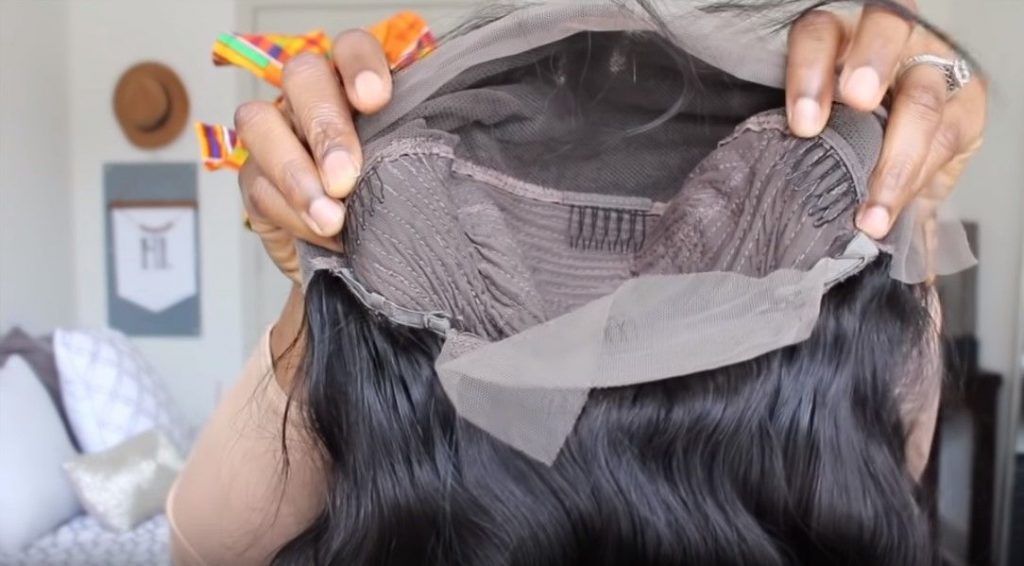
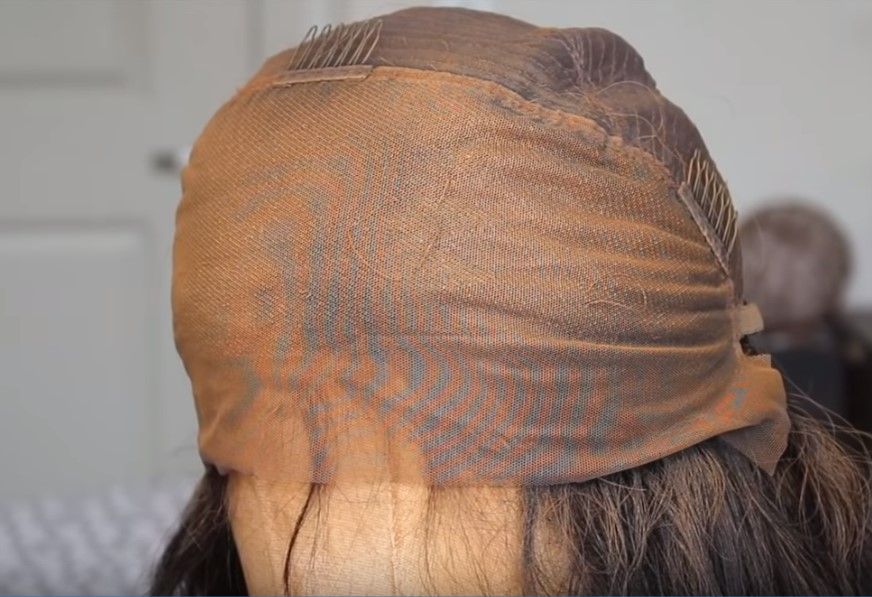
All right, so this is what the inside construction of the unit looks like, I did get my unit in a medium size, it comes two combs in the side and one in the middle, it is a lace construction, it is pre-plucked but minimally, there wasn’t a whole lot done, so you need to customize if you want to look really natural.
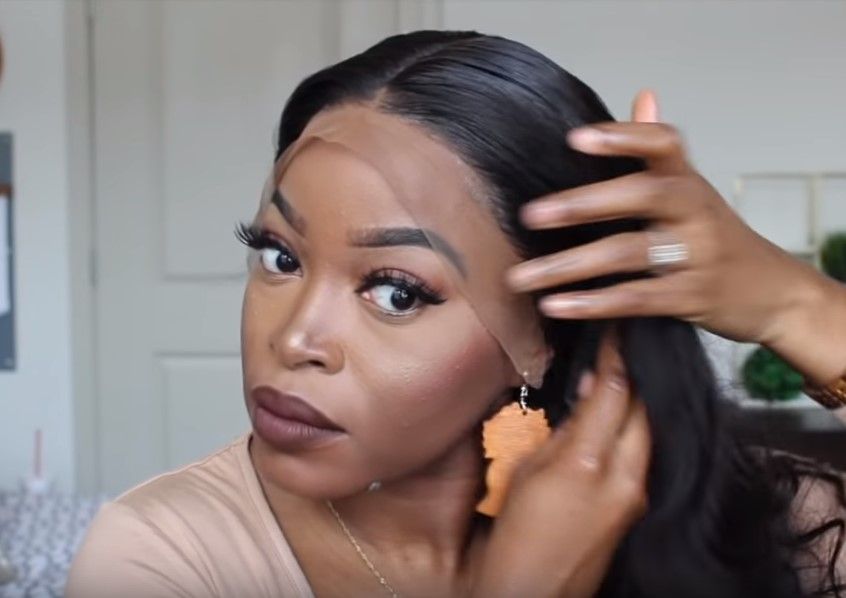
And if you have been a part of the fan for a little bit, you already know what the next step entails, I’m just using the Sally Hansen airbrush spray, spraying all of the lace to conceal these knots. Now this is what the parting looks like currently, it looks so much more polished.

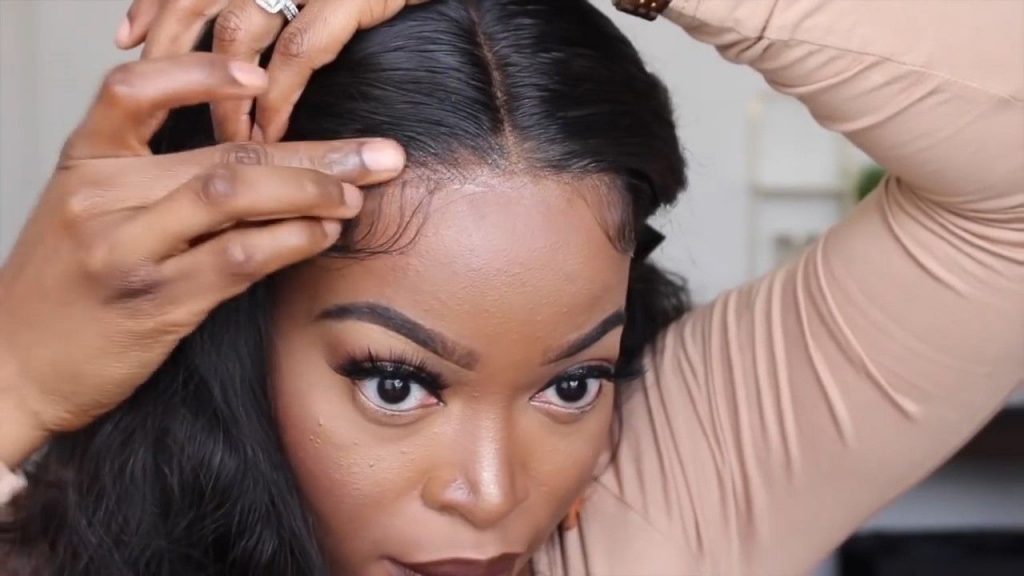
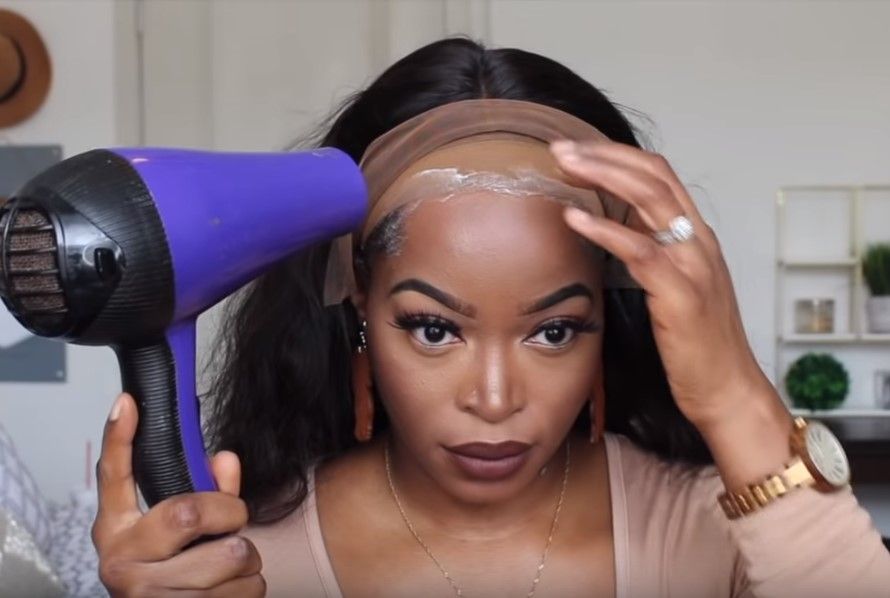
For this particular slay video, I will be doing a ball cap method, I’m now going to apply the unit. And I’m gonna start off by parting the hair straight down the middle, I typically don’t do middle part but I’m going to try something new, then what I need to do is cleaning up the area where I spray the Sally Hansen Spray, then we are gonna move to pulling back the lace a bit, then I’m gonna apply wig glue or got 2b glue all around the front, after done that, I’m going to use blow dryer on the cool setting in order to dry it, then I will be finishing pulling it forward over the area where I placed glue. Pls make sure that you place it completely over the area and covers the hairline. So after doing this, I’m applying an elastic band just to make sure it set well. When this is complete, I’m gonna grab my mousse, putting the area that my parting is, because I do want my area at the top really flat, then I’m gonna to apply a scarf so set that and make sure it is fat even more. And I’m going to keep my elastic band as well as my spot for about ten minutes, then removing my scarf first then the elastic band. As you can see, everything is nice.
And now I’m gonna use a razor in order to cut the lace. Let me tell you it is really difficult to cut the lace while it is on head, I struggle struggle struggle when it comes to cutting the lace while it is on my head, it is really a challenge foe me lol. If you like me do challenge, just do it on the mannequin, it is so much easier and I will also probably use scissors. Now there is still some lace that is not glue down at this point, I’m going to leave it and use it as a stocking cap and just cover it with baby hair. Then I’m gonna to create some baby hair on the side to conceal those areas. When I finished with baby hair, I’m using some edge control just to create a sleeker look. And then I’m gonna to begin to tweeze out before hairline just to make sure it looks even more natural.